The house insulation.
Click on the pictures for larger images.
This page will show the progress of the insulation. When we bought the house people asked if we wanted clad the house with polystyrene but we said that we would like to keep it as a traditional Romanian house with all the fancy plasterwork. So why are we now cladding the house with polystyrene? Read on to find out.
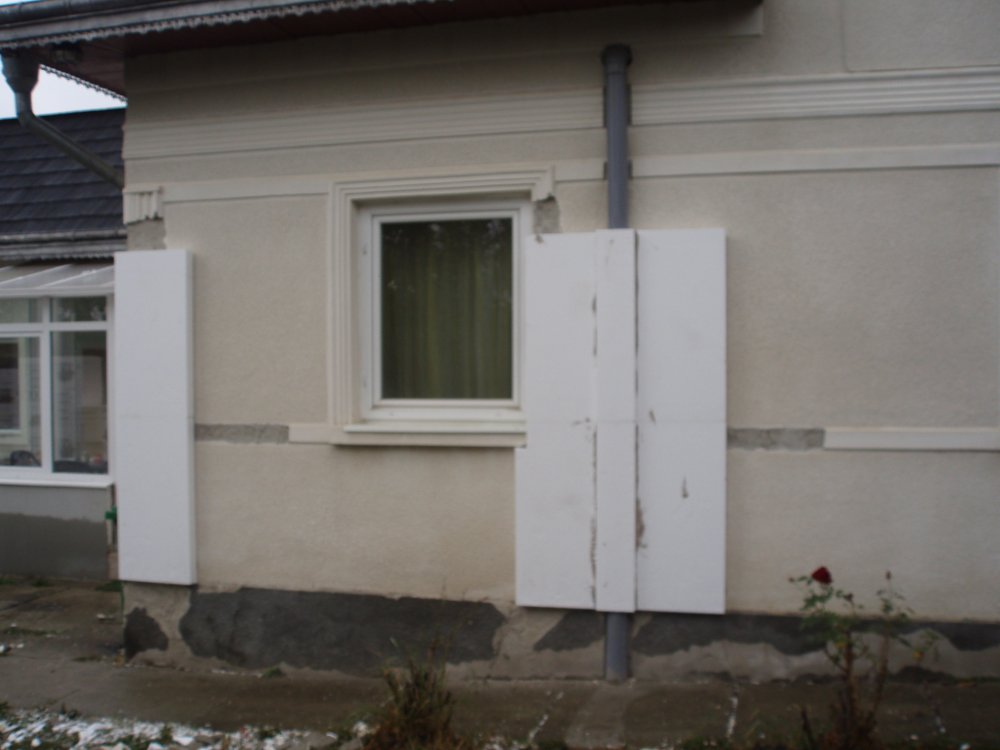
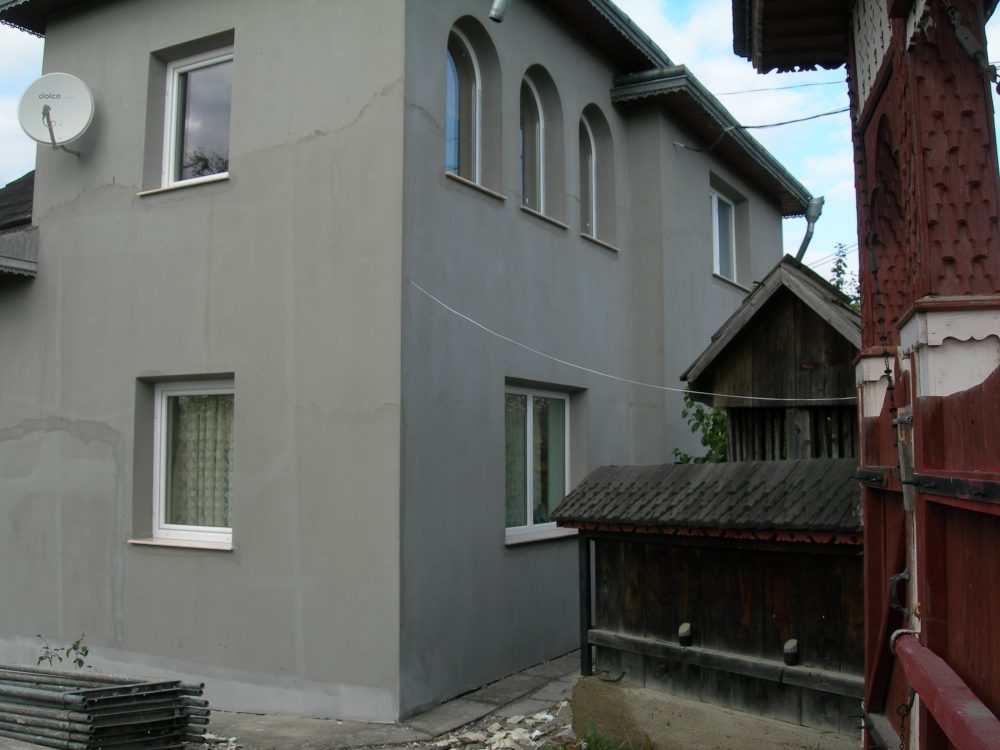
The side of the house at the start.
Last winter we found that the house was cold. Here in Romania they build houses with only one brick wide walls, not like in the UK where we really build two walls making a cavity between them. When the outside temperature got down to minus twenty two and the heating was doing it's best turned up full we could only get around twelve degrees in the living room. The hall was colder than this. Having the conservatory over the doors did help and that stayed around two degrees without any heating.
It was then that we decided, a fancy traditional house looks nice but it does not keep us warm in the winter. That is why we have decided to insulate the house.
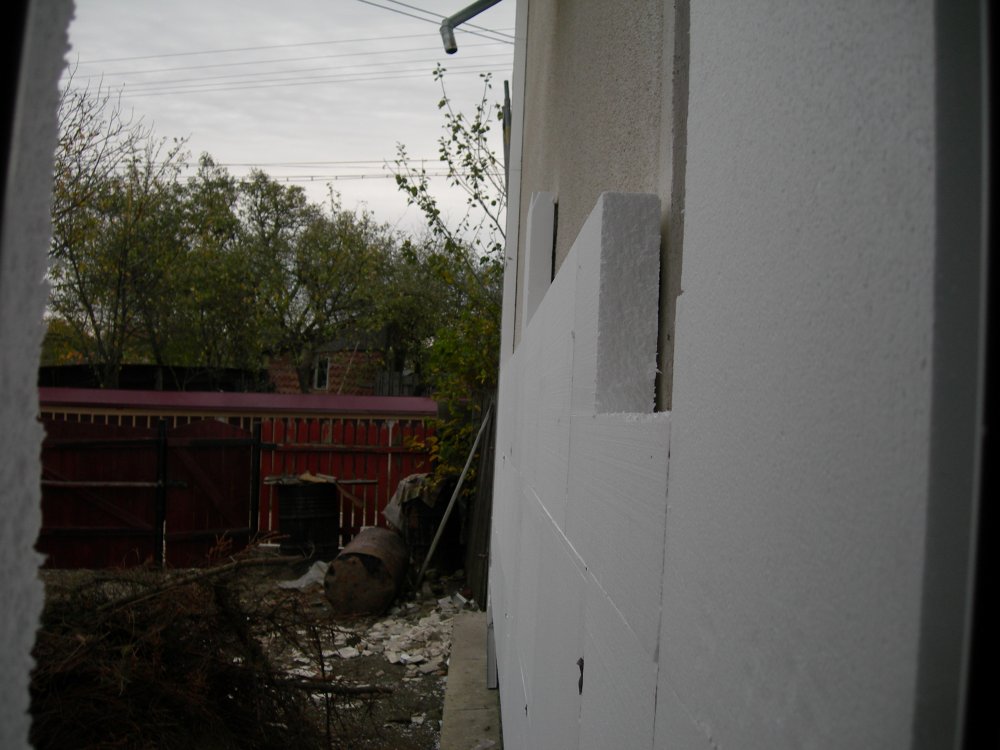
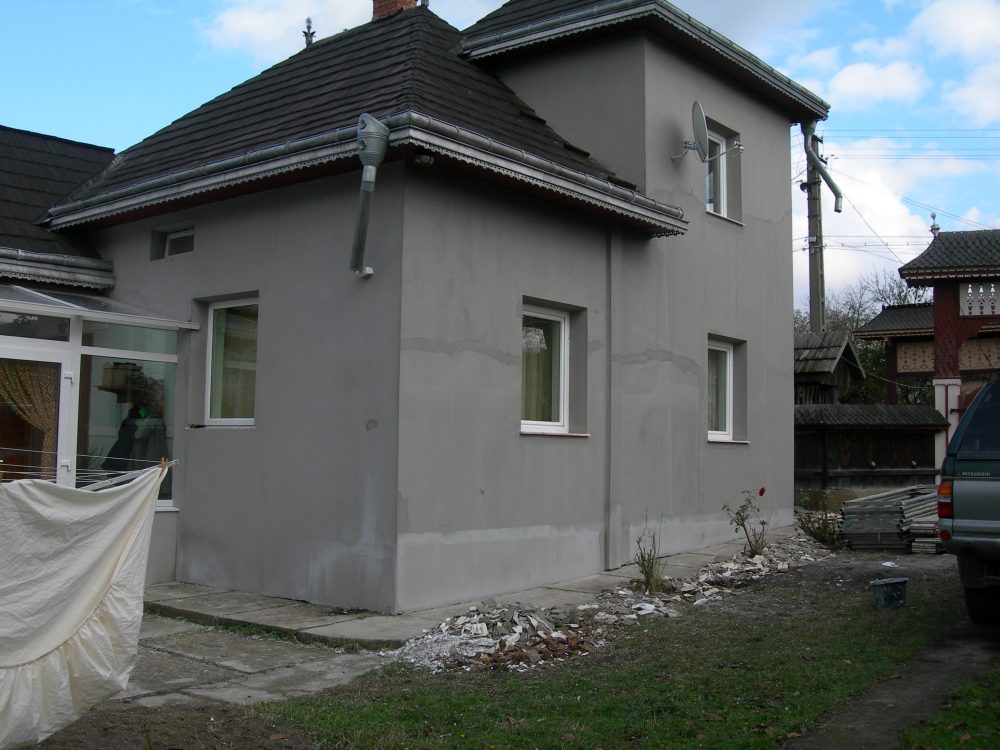
The back wall.
This picture shows the insulation part way up the back wall. Because there is cavity to fill with foam or such like, here they clad polystyrene sheets the outside of the house with an adhesive. A bit like a mortar.
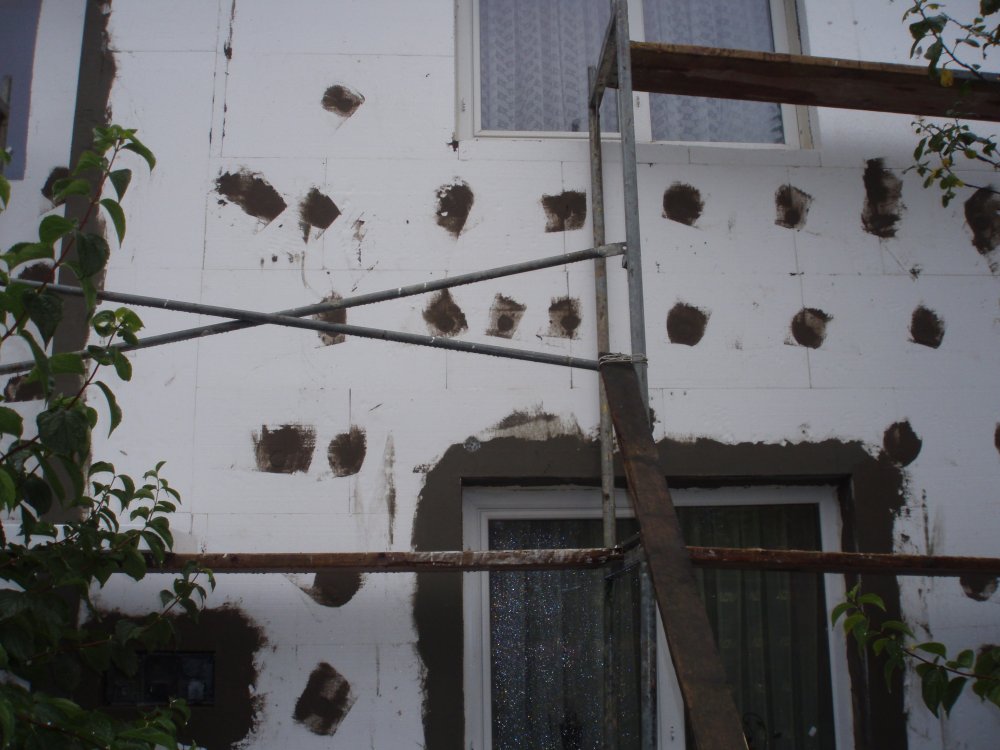
The front of the house waiting for the net and plaster.
Then they drill throgh the polystyrene and the brick and fix the polystyrene with a plastick wall plug and nail. The wall plug has a large circle on the outside so it can keep the polystyrene fixed to the wall.
Then a covering of plaster and a net to cover the whole job to make a smoother suface is applied. So far this is as far as we have got in the process, and will be finished today up to this point.
Update 23 October 2009
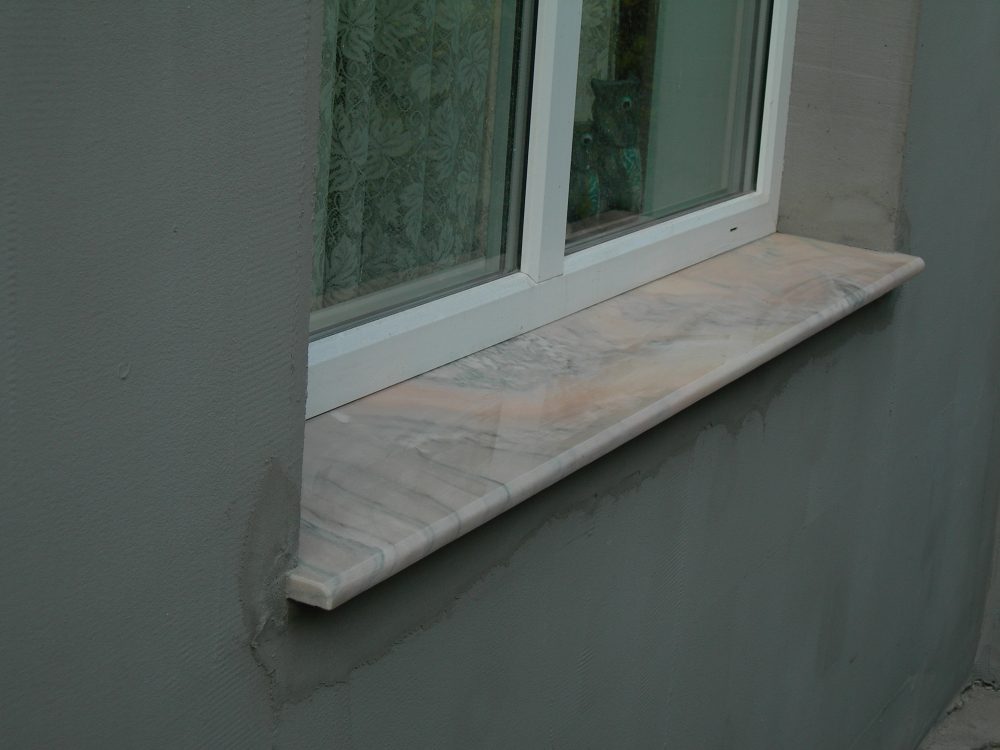
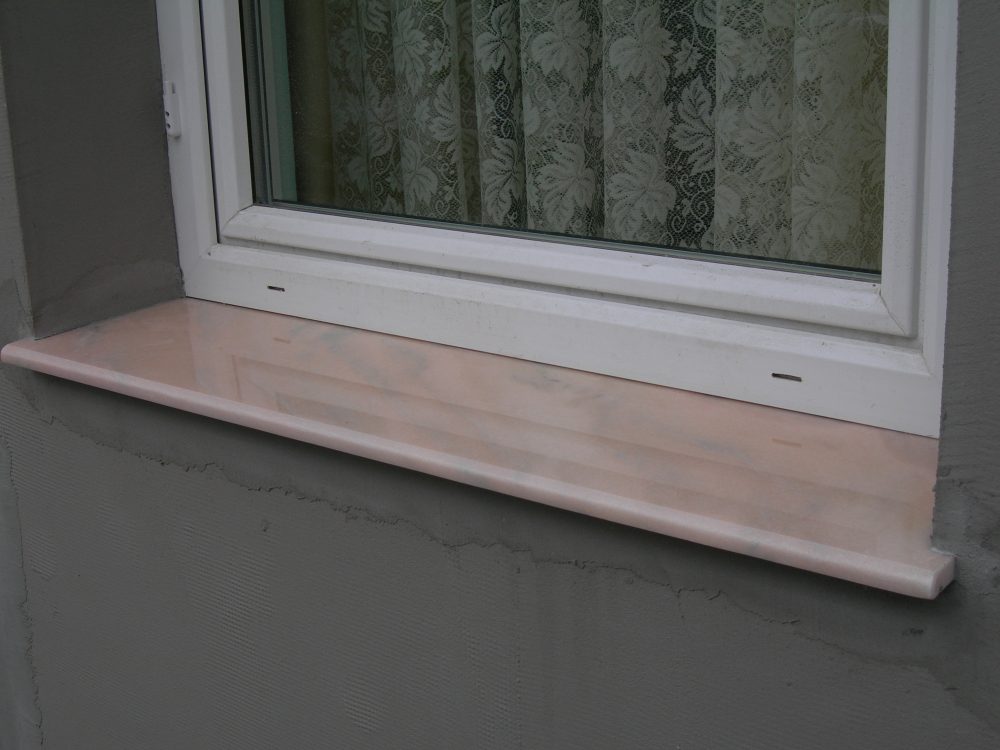
The polystyrene is finished now and the face has been plastered. It is now ready for the colour coat to go on when this dries properly. Also the window sills have been fixed. Below are some photos so far.
 |
 |
 |
 |
Update 17 November 2009
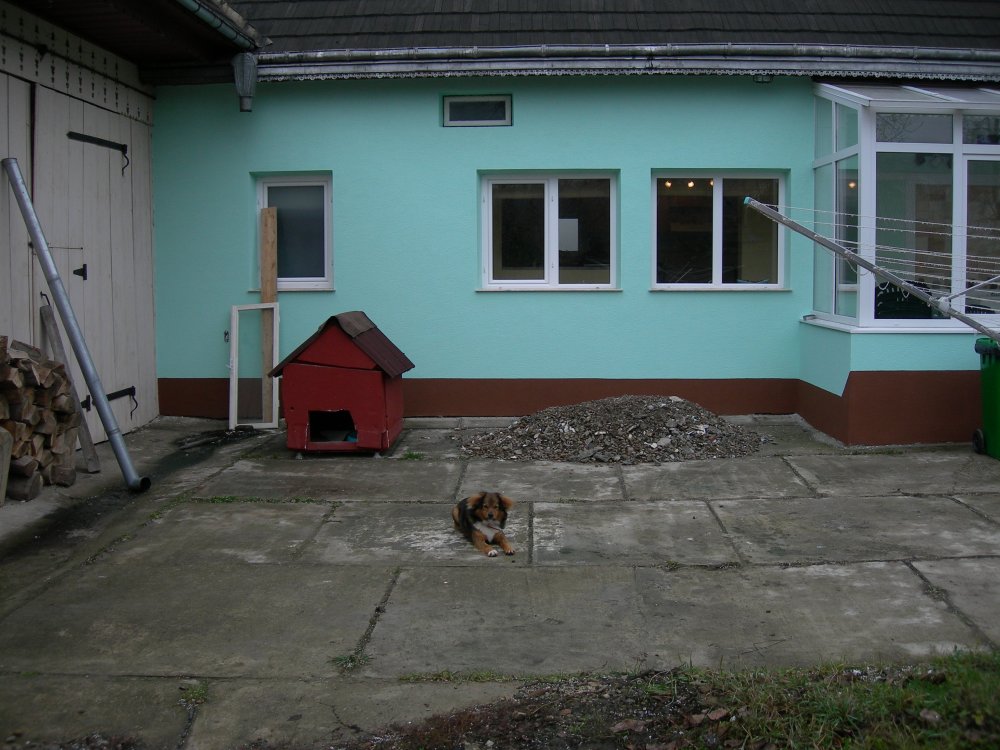
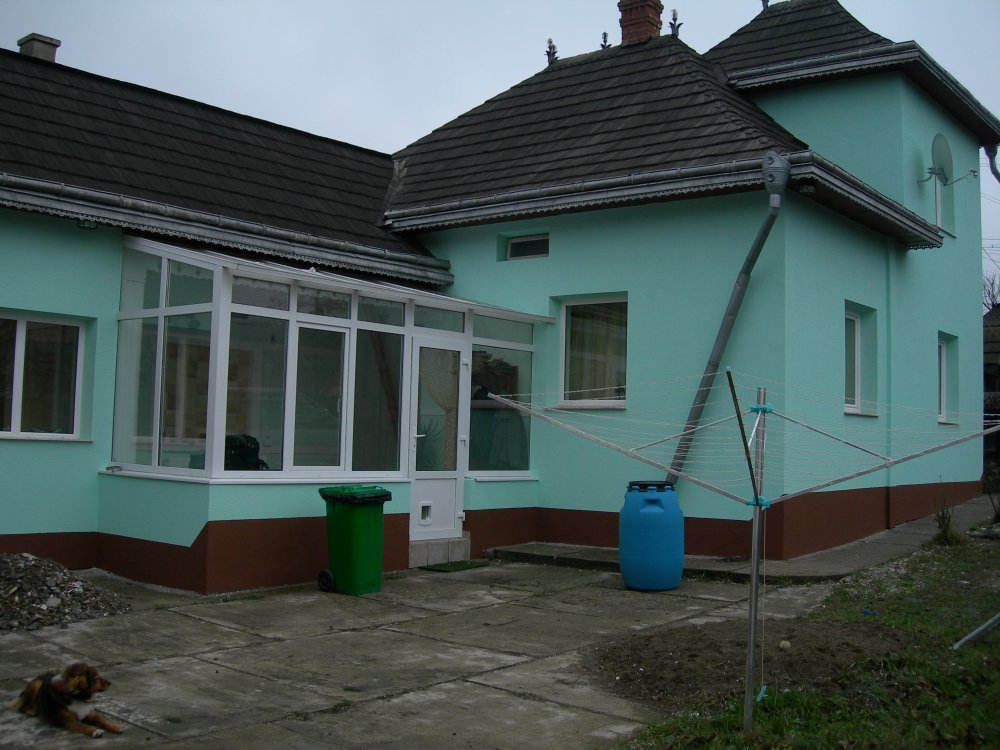
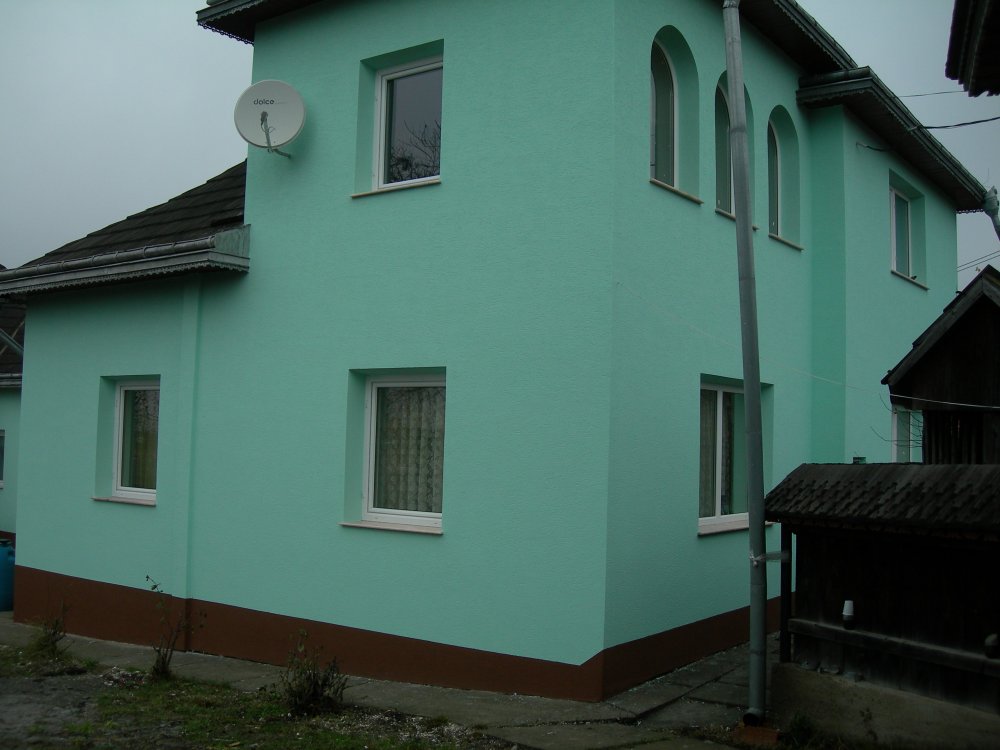
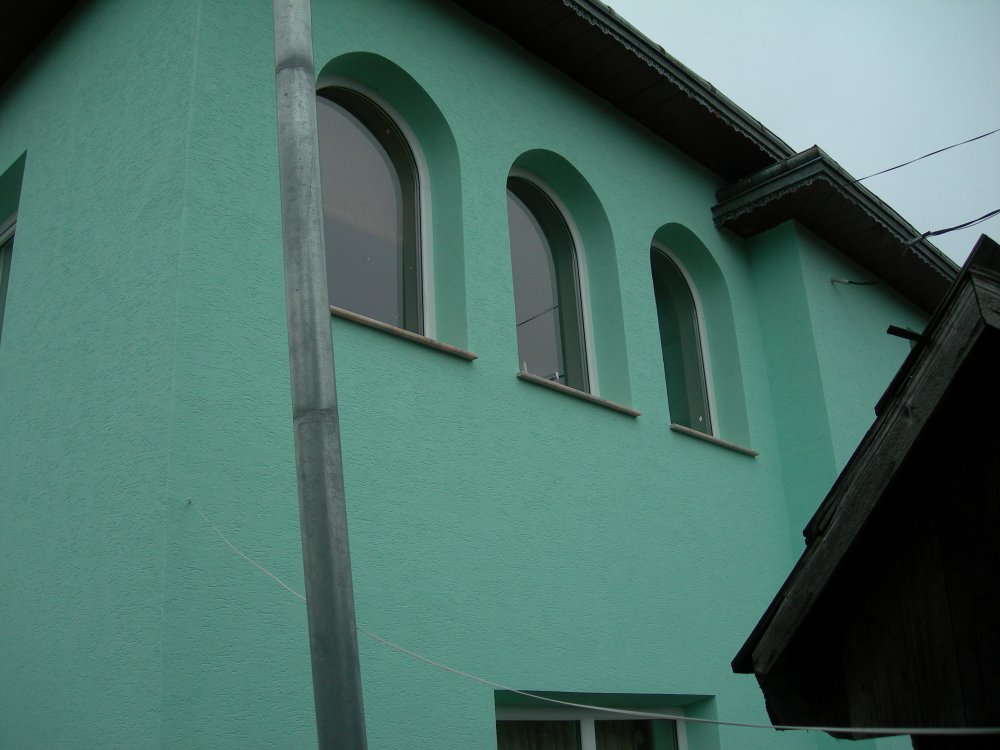
The outside is now finished. As you will see from the photos below Sue went for green. When we were telling the guys what colour we wanted they suggested a darker colour at the bottom so it would not look dirty after rain splashes etc. so we went for a chocolate brown.
Someone said it looks like a giant chocolate chip ice cream !! You decide, though we did not put the chocolate chips into the green with spots of brown.
Now the whole house is one colour the conservatory looks part of the house instead of looking like an add on.
The house is now much warmer and we are burning less wood a day than last year so it is helping to keep costs down too.
enjoy the photos below.
 |
 |
 |
 |
The down pipes are not put back on properly yet but that will be done in the next week or so after the colour coat has dried out.